Guides
A Beginner's Guide to Navigation with Map and Compass in the UK
A phone with a blue dot on it feels like the answer to everything until the battery dies, the screen gets soaked, or the signal disappears behind a ridge. A map and compass don't care about any of that. Learning to use them takes an afternoon of practice, and it changes how you walk: you start noticing the shape of the ground, the way a path curls around a spur, and where you are in relation to everything else.
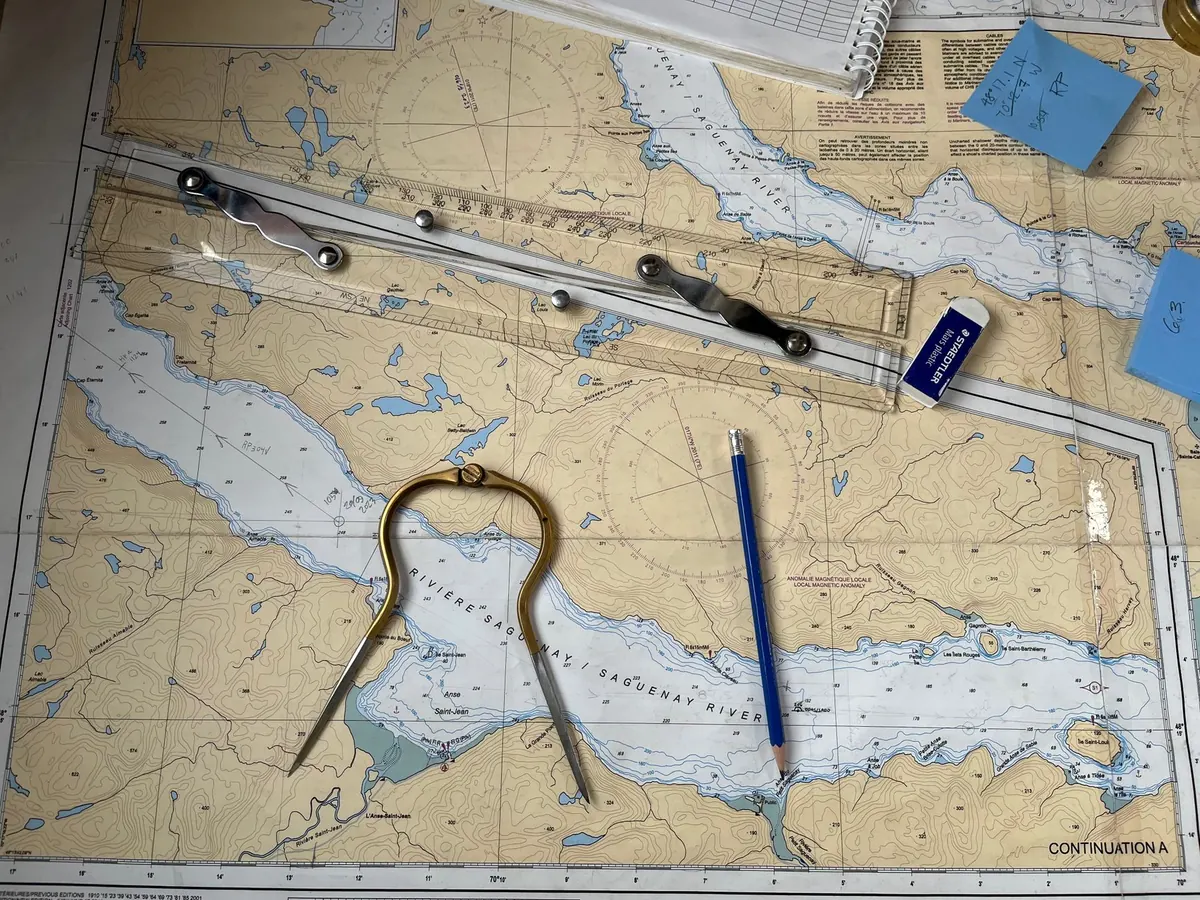
What follows covers the four skills that do most of the work for a beginner: grid references, contours, bearings and pacing. Get a 1:25,000 Ordnance Survey Explorer map of somewhere you already know — a local hill, a familiar stretch of coast — and keep a compass beside it while you read. Skills learned on known ground stick far better than skills learned in a whiteout.
What you actually need
Nothing expensive, and most of it will last a decade.
- A 1:25,000 OS Explorer map of your area in a clear waterproof case. Landranger maps at 1:50,000 work, but leave out detail you'll want when you're hunting for a stile or a stream junction.
- A baseplate compass with a rotating bezel, orienting lines and a magnifier — the kind sold for walking, not the brass antique on the mantelpiece.
- A watch, a pencil, and a short length of cord or a romer for measuring distance.
- As backup: a headtorch, a whistle, spare layers and a phone with an offline map downloaded. Useful, not relied upon.
Before you set off, tell someone your route and your expected return time. That single habit does more for your safety than any gadget.
Grid references: describing a point precisely
A grid reference is a way of saying exactly where something is on the map, so you can find it again or pass the location to someone else. The explanation in the map key takes a minute to read and then makes sense for life.
Every OS map is covered in squares, and each 1 km square sits inside a 100 km block identified by two letters in the margin — NY, SE, SH and so on. The numbers come in pairs: the first counts across from the left (eastings), the second counts up from the bottom (northings). Along the corridor and up the stairs is the old mnemonic, and it works.
A four-figure reference like 2310 identifies a whole 1 km square. Fine for "somewhere on the northern flank", useless for finding a spring. For six figures, imagine each square divided into tenths — 100 m cells. A point two tenths across and three tenths up square 2310 becomes 232 103. Six figures is the standard worth aiming for, and it's what mountain rescue will ask for. Eight figures narrows it to 10 m, which is more precision than most of us can honestly manage in wind and rain.
Taking a grid reference from the map
- Find the square containing your point and note the two letters from the margin.
- Read the easting: how far across, in tenths of a square, from the left-hand grid line.
- Read the northing: how far up, in tenths, from the bottom grid line.
- Write it as letters, then eastings, then northings — for example NY 342 151.
Contours: the shape of the land in flat print
Contours are the part of the map beginners skip and experienced walkers read first. Each line joins points of equal height; the interval is in the legend — 5 m on Explorer maps, 10 m on Landranger. Every fifth line is drawn thicker, so you can count your way up a slope without losing track.
Four things to look for:
- Spacing. Lines close together mean steep ground; lines far apart mean gentle ground. A hillside where the contours bunch into a solid band is a slog uphill and a knee-wrecker down.
- Shape. Where contours form a V pointing uphill, you're looking at a valley or re-entrant. Where the V points downhill, you're on a spur or ridge. Following the wrong one in mist is a classic way to end up a kilometre from where you meant to be.
- Summits. Small closed circles mark the top, with a spot height in metres beside them.
- Reality. The ground between two contours might be heather, boulders, tussocks or a bog. Expect it to take longer than the map suggests.
Bearings: turning a line on paper into a direction on the ground
A bearing is a direction measured in degrees clockwise from north. Once you can take one from the map and follow it, you can walk a straight line to somewhere you can't see.
From map to ground
- Lay the compass on the map with one long edge joining where you are to where you want to go, the direction-of-travel arrow pointing at your target.
- Hold it steady and rotate the bezel until the orienting lines run parallel with the map's grid lines and the orienting arrow points to the top of the map.
- Read the number at the index line. That's your grid bearing.
- Adjust for magnetic variation if needed. The grid magnetic angle is printed in the map margin; in the UK it's small, but check rather than assume.
- Hold the compass flat and turn your whole body until the red end of the needle sits inside the orienting arrow. The direction-of-travel arrow now points at your destination. Pick a feature on that line and walk to it, then repeat.
From ground to map
To work out what you're looking at, point the direction-of-travel arrow at the feature, rotate the bezel until the needle sits in the orienting arrow, and read the bearing. Then set the compass on the map with the orienting lines parallel to the grid and slide it until one edge passes through your position — the arrow will point at the feature. Do that with two features, such as a summit and a distinctive bend in a wall, and you've fixed your position without a working phone.
Pacing, timing and staying found
Bearings tell you which way. Pacing tells you how far, and that's the half most people forget.
Count double paces — every time your left foot lands — because it's easier than counting each step. Calibrate on a measured 100 m of flat path, then again on a climb and on rough ground. Counts vary wildly between people, and they shorten sharply uphill. On a navigation leg in poor visibility, count in blocks of ten and keep track with pebbles, knots in a cord, or fingers.
For planning, the old rule of thumb is one hour per 5 km on the flat, plus a minute for every 10 m of ascent. Treat it as a starting point. A group moving at the pace of its slowest member, across a boggy plateau, with a lunch stop and a lot of photographs, will take considerably longer. Plan for that and be pleasantly early rather than benighted.
Three habits make a bearing far more reliable:
- Handrails. Follow a wall, stream or forest edge that already runs toward your target instead of striking out across open ground.
- Attack points. Head for an obvious feature near your destination, then navigate the last short leg carefully.
- Aiming off. Deliberately aim slightly to one side of a small target like a bridge, so that when you meet the stream you know which way to turn.
Practise before you need it
Pick a short local walk you know well and do it differently: fold the map, set it by aligning it with the ground, take a bearing to a junction and follow it, pace out the distance between two gates and check your count against the map. Do it again on a drizzly day, because clear-weather practice teaches you very little about navigating in cloud.
A one-day navigation course or a few walks with a local club will smooth out the small errors that are hard to spot on your own, and there's no shame in it — most experienced hillwalkers have been taught by someone. If you do need help, dial 999 and ask for the police, then mountain rescue (in Scotland, ask for Police Scotland). Carry the map and compass on every hill day, even the easy ones, and you'll find you rarely need to think hard about either.
Photo: Lea Guerette / Pexels
Related Articles